If you’ve been following my reviews on The Gadget Man, you’ll know I have a deep appreciation for innovation and practicality, particularly when it comes to tech that enables creativity. Enter the Anycubic Kobra S1 – a device that has transformed my 3D printing experience and firmly established itself as an indispensable tool in my workshop. After clocking over 100 hours of printing with this machine, I can confidently say it’s a game-changer in the world of consumer-grade 3D printers.
Dimensions and Specifications
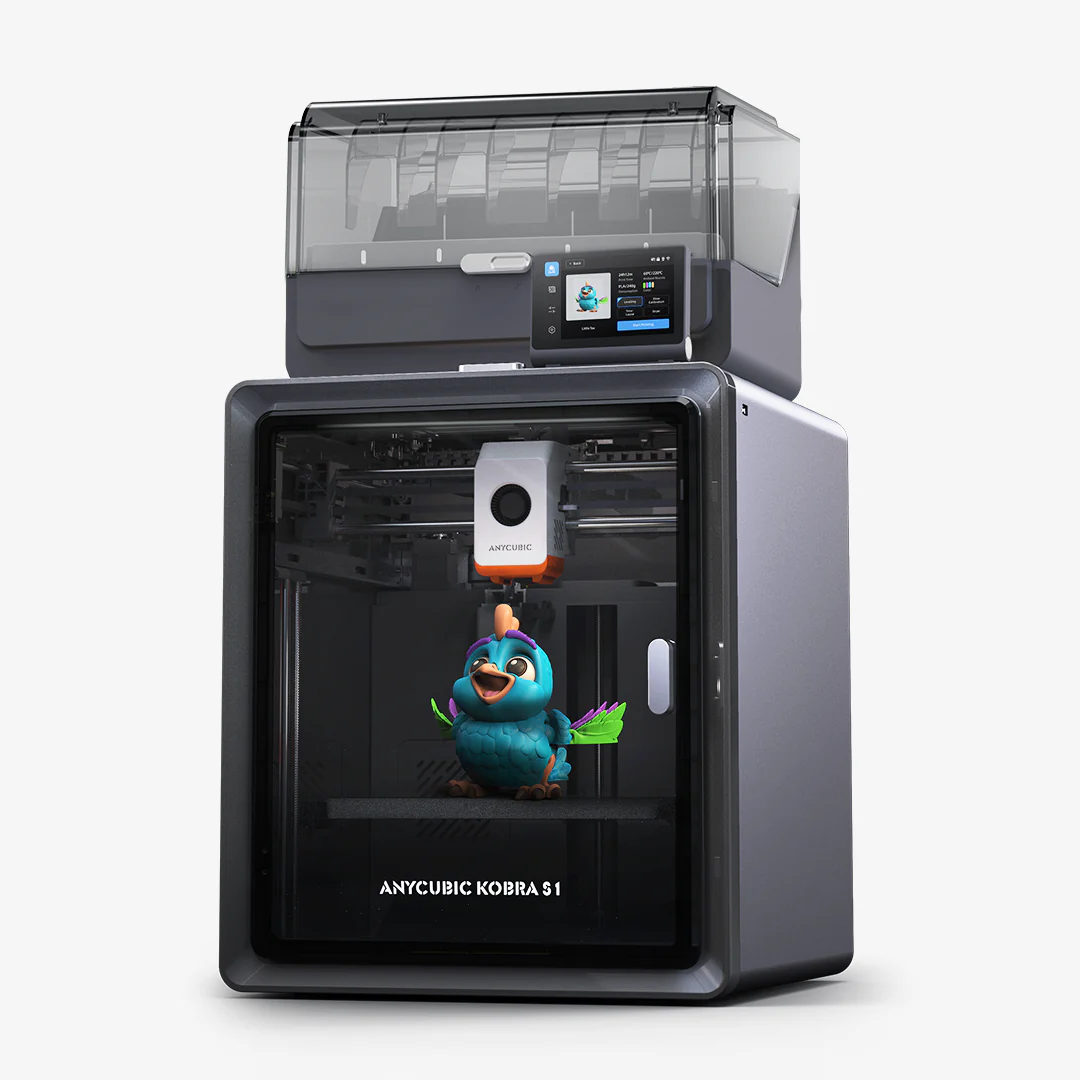
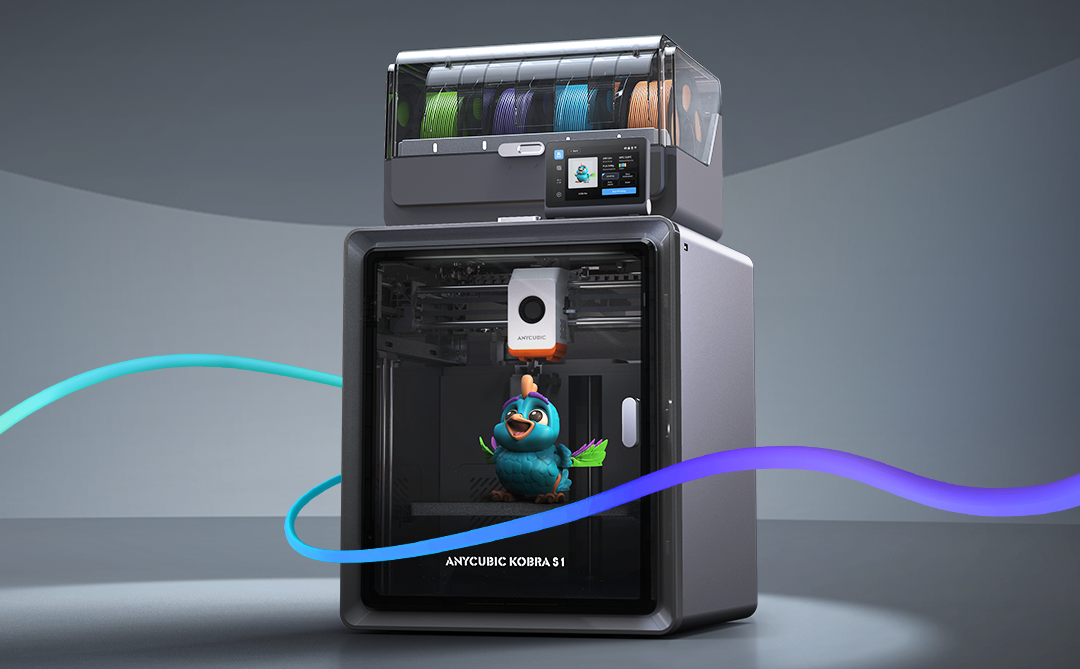
The Anycubic Kobra S1 Combo boasts a compact yet highly functional design. It operates at 46dB in standard mode and an impressively quiet 44dB in quiet mode, making it suitable for home and office environments. The maximum nozzle temperature of this printer reaches an impressive 320°C, allowing for compatibility with a variety of filament types. Additionally, the print head features a quick-release mechanism, simplifying maintenance and filament swaps. With a build volume of 250 x 250 x 250 mm, it offers ample space for a wide variety of projects while maintaining a manageable footprint. The printer’s enclosed design ensures consistent environmental conditions, and the carbon filter reduces fumes, particularly useful when printing with materials like ABS. The sturdy frame and high-quality components reflect Anycubic’s commitment to durability and reliability. The machine’s heated bed, capable of reaching temperatures up to 120°C quickly, is paired with a magnetic PEI print bed, ensuring excellent adhesion during printing and easy removal of finished models. and its precision extruder provide a professional-grade 3D printing experience.
Unboxing and Package Contents
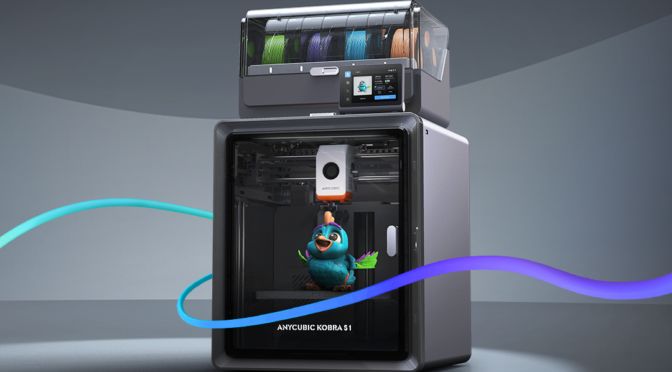
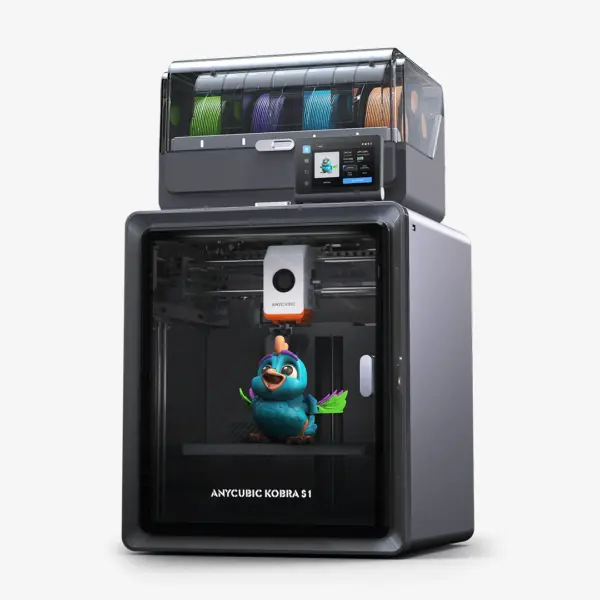
The Anycubic Kobra S1 arrives neatly packaged with everything you need to get started. The box includes the main printer components, a toolkit, a sample filament, the 4-reel multi-colour ACE unit, and a detailed user manual. The inclusion of these extras reflects Anycubic’s commitment to delivering value and convenience to users. The unboxing experience is satisfying, and the care in packaging ensures everything arrives in pristine condition.
Assembly and Initial Setup
Straight out of the box, the setup process is impressively straightforward. The clear and concise user manual walks you through installing the print head, screen, and filament holder. Even for those new to 3D printing, the step-by-step instructions make assembly approachable and stress-free. Connecting the multi-colour ACE unit is a simple task, and the machine is designed for intuitive use. Within an hour, I had the printer fully assembled and ready to begin its first calibration.
One standout aspect of the setup process is the printer’s resonance compensation system. During initial configuration, the Kobra S1 moves the print head rapidly in a controlled pattern to measure vibrations. This data allows the printer to adjust and compensate for resonance during printing, resulting in smoother, more accurate outputs. This feature is particularly impressive as it demonstrates Anycubic’s dedication to precision and innovation.

Software and User Interface
The Anycubic Kobra S1 supports widely-used slicing software like Cura and Anycubic’s own Photon Workshop. It is compatible with a range of nozzle diameters, including the standard 0.4mm as well as 0.2mm, 0.6mm, and 0.8mm options for expanded versatility in project designs. These platforms offer intuitive interfaces and extensive options for fine-tuning your prints. Once the software is installed, connecting the printer is a breeze, and the user-friendly touchscreen interface on the printer itself makes controlling print jobs straightforward. It’s a well-thought-out ecosystem that bridges functionality and ease of use.
Performance and Material Versatility
In terms of performance, the Kobra S1 punches well above its weight. I began with PLA and PLA+, and the results were remarkable. Prints exhibited exceptional precision, fine details, and consistent layer adhesion. The enclosed design minimizes environmental factors, ensuring stable and reliable results.
Venturing into ABS printing was where the Kobra S1 truly shined. The enclosed chamber with a carbon filter ensured stable temperatures, reducing warping and odours. The heated bed and high-performance extruder proved their worth, handling ABS effortlessly and delivering smooth, robust prints. The addition of the multi-colour ACE unit enabled stunning multi-material prints, allowing for creative designs that were previously out of reach with single-extruder systems.
Before using the Kobra S1, I was limited to manual filament changes when attempting multi-colour prints. The Kobra S1’s full support for multi-colour printing has been a revelation, saving time and reducing errors. However, it’s worth noting that the use of prime towers for filament flushing can lead to some filament waste, a consideration for those conscious of material efficiency.
Standout Features
The heating 4-reel multi-colour ACE unit is undoubtedly the crown jewel of the Kobra S1. This innovative unit is also heated, allowing for in-print filament pre-heating, which ensures consistent material flow and print quality. The quick-release print head further enhances convenience, making it easy to swap or maintain the unit. The Kobra S1 also supports advanced features like Pressure Advance and Flow Calibration, ensuring optimal performance and precision across a range of printing scenarios. This innovative unit is also heated, allowing for in-print filament pre-heating, which ensures consistent material flow and print quality. This advanced feature facilitates seamless multi-material and multi-colour printing, unlocking unparalleled creative potential. Whether it’s intricate models, functional prototypes, or artistic creations, the ACE unit’s reliability and precision make it a joy to use.
Another highlight is the auto-levelling system. This feature eliminates one of the most common frustrations in 3D printing—manual bed levelling. With the Kobra S1, you can count on a perfectly levelled print bed every time, ensuring optimal print quality from the very first layer.
Safety and Maintenance
Anycubic has also prioritised user safety and maintenance ease. The enclosed design minimizes exposure to fumes, especially when working with ABS. Routine maintenance is simplified with easy access to key components and a helpful guide in the user manual. The sturdy build ensures durability, making this printer a long-term investment.
Value for Money
The Anycubic Kobra S1 stands out as an affordable yet feature-rich 3D printer. Priced competitively, it delivers professional-grade results that rival much more expensive models. With its ability to handle a wide range of materials, including PLA, PLA+, and ABS, and its advanced multi-material capabilities, the Kobra S1 offers exceptional value for hobbyists, tinkerers, and small businesses alike.
Conclusion
In conclusion, the Anycubic Kobra S1 sets a new standard for consumer-grade 3D printers. Its versatility, reliability, and professional-grade performance make it a standout choice for both beginners and experienced makers. From the heating 4-reel multi-colour ACE unit to its intuitive design, exceptional print quality, and advanced resonance compensation system, this printer offers an unparalleled user experience. If you’re in the market for a feature-packed 3D printer that doesn’t break the bank, the Anycubic Kobra S1 is a top contender. Highly recommended!
Don’t forget to enter the special offer code GADGETMAN to get a further £20 discount on your order!